In the Bible, Genesis 3:19 states “For dust thou art, and unto dust shalt thou return”. That certainly applies to woodworkers, and in our careers we already build up a lot of dust credits. I’ve done my fair share of dust battles, starting with a very basic dust cyclone bin. The two elbows in the top cover point in opposite direction, and create a circular airflow in the dustbin. It helped already a lot to keep my dust extractor clean- my guess is that 80% of the dust ended in the separator, which is much easier to clean. So far, so good.
I had been looking in many issues of woodworking magazines to find a dust cyclone cyclone, but found that the shipping costs to Europe were prohibitive. Finally, I found some smaller ones on eBay, Okay for small orbital sanders and routers, but undersized for a central separator job ( I’m using a Camvac 2.5 inch dust extractor, 110 CFM).
I started researching, and found two absolutely great sites, which should be mandatory browsing for all woodworkers. (1) Flowering Elbow ( http://www.floweringelbow.org/projects/the-cyclone-dust-separator ), which planted the idea of building my own cyclone separator, and (2) billpenz.com, which represents the Bible of Dust Collection (to stay in the same mood) and Cyclone Design. Awesome, impressive, superlative etc etc. His website even offers a cyclone sizing/calculating Excel spreadsheet!
I’m not a metal man, I cannot weld, and I’m not married to Rosie the riveter. 
That left me with a nice little puzzle how to build such a cyclone. On one of my exceptional outings from our beautiful countryside,I got stuck in the road works around Albi, and there was my Solution:

Believe it or not, but I went to a regular store to purchase a traffic cone, which sells for less than 10 US$ each.
The cyclone separator has three main parts: (1) an upper cylinder, (2) a middle (traffic) cone, and (3) a dust bin. For the upper part, I used a 180 mm ( 7 1/2 inch) diameter stovepipe, into which I cut an opening according to the Bill Pentz design sheet:
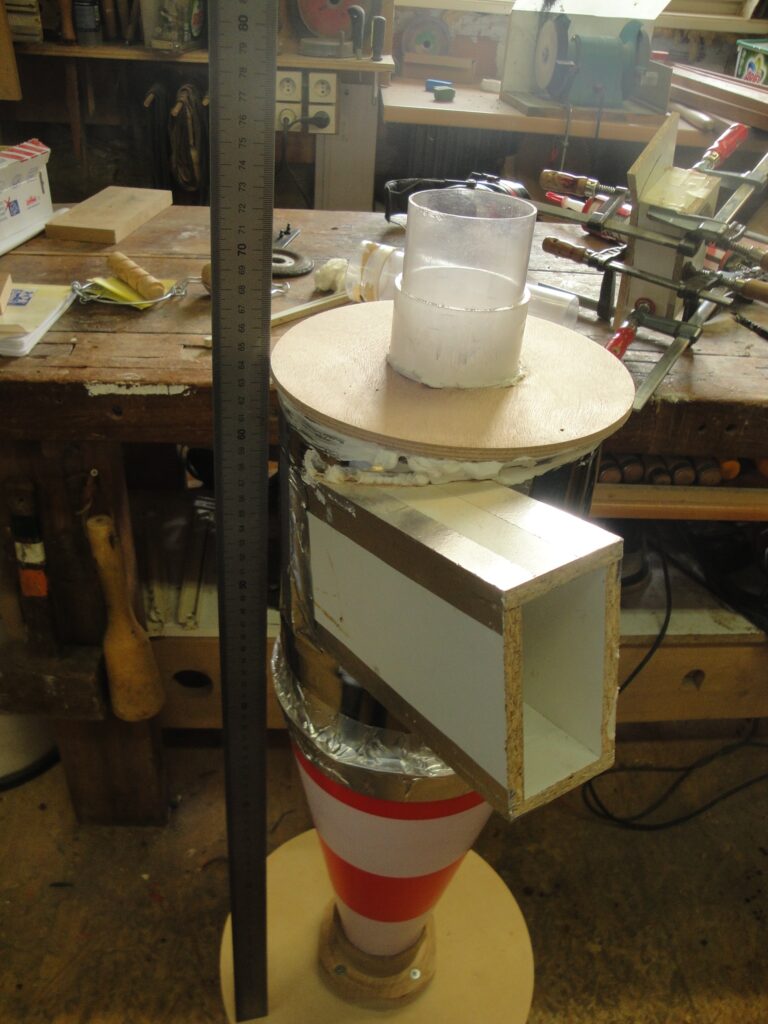
The interesting thing about this design was the air ramp in the upper cylinder. This forces the air down into the cone ( and ultimately in the dust chute), whereas the “clean” air travels upwards to the central vertical tube. A skewed inlet helps orient the dusty air downwards. In the picture below, you see the upper cylinder before the top lid is put in place:
A closer look at the skewed air inlet:

And the whole contraption, once finished:
Works very well for collecting chips. I’m not yet sure how much (fine) dust is captured, that is the next step.
PS. A late entry today by my baby sister. Very to the point! Thanks Bei!


